
Keeping your Invisalign aligners clean isn’t just about maintaining their clear appearance—it’s essential for your oral health and treatment success. I’ll walk you through everything you need to know about cleaning these transparent teeth straighteners, from daily routines to tackling stubborn stains. Let’s make sure your smile transformation stays on track with spotless aligners.
Why Cleaning Your Invisalign Aligners Matters
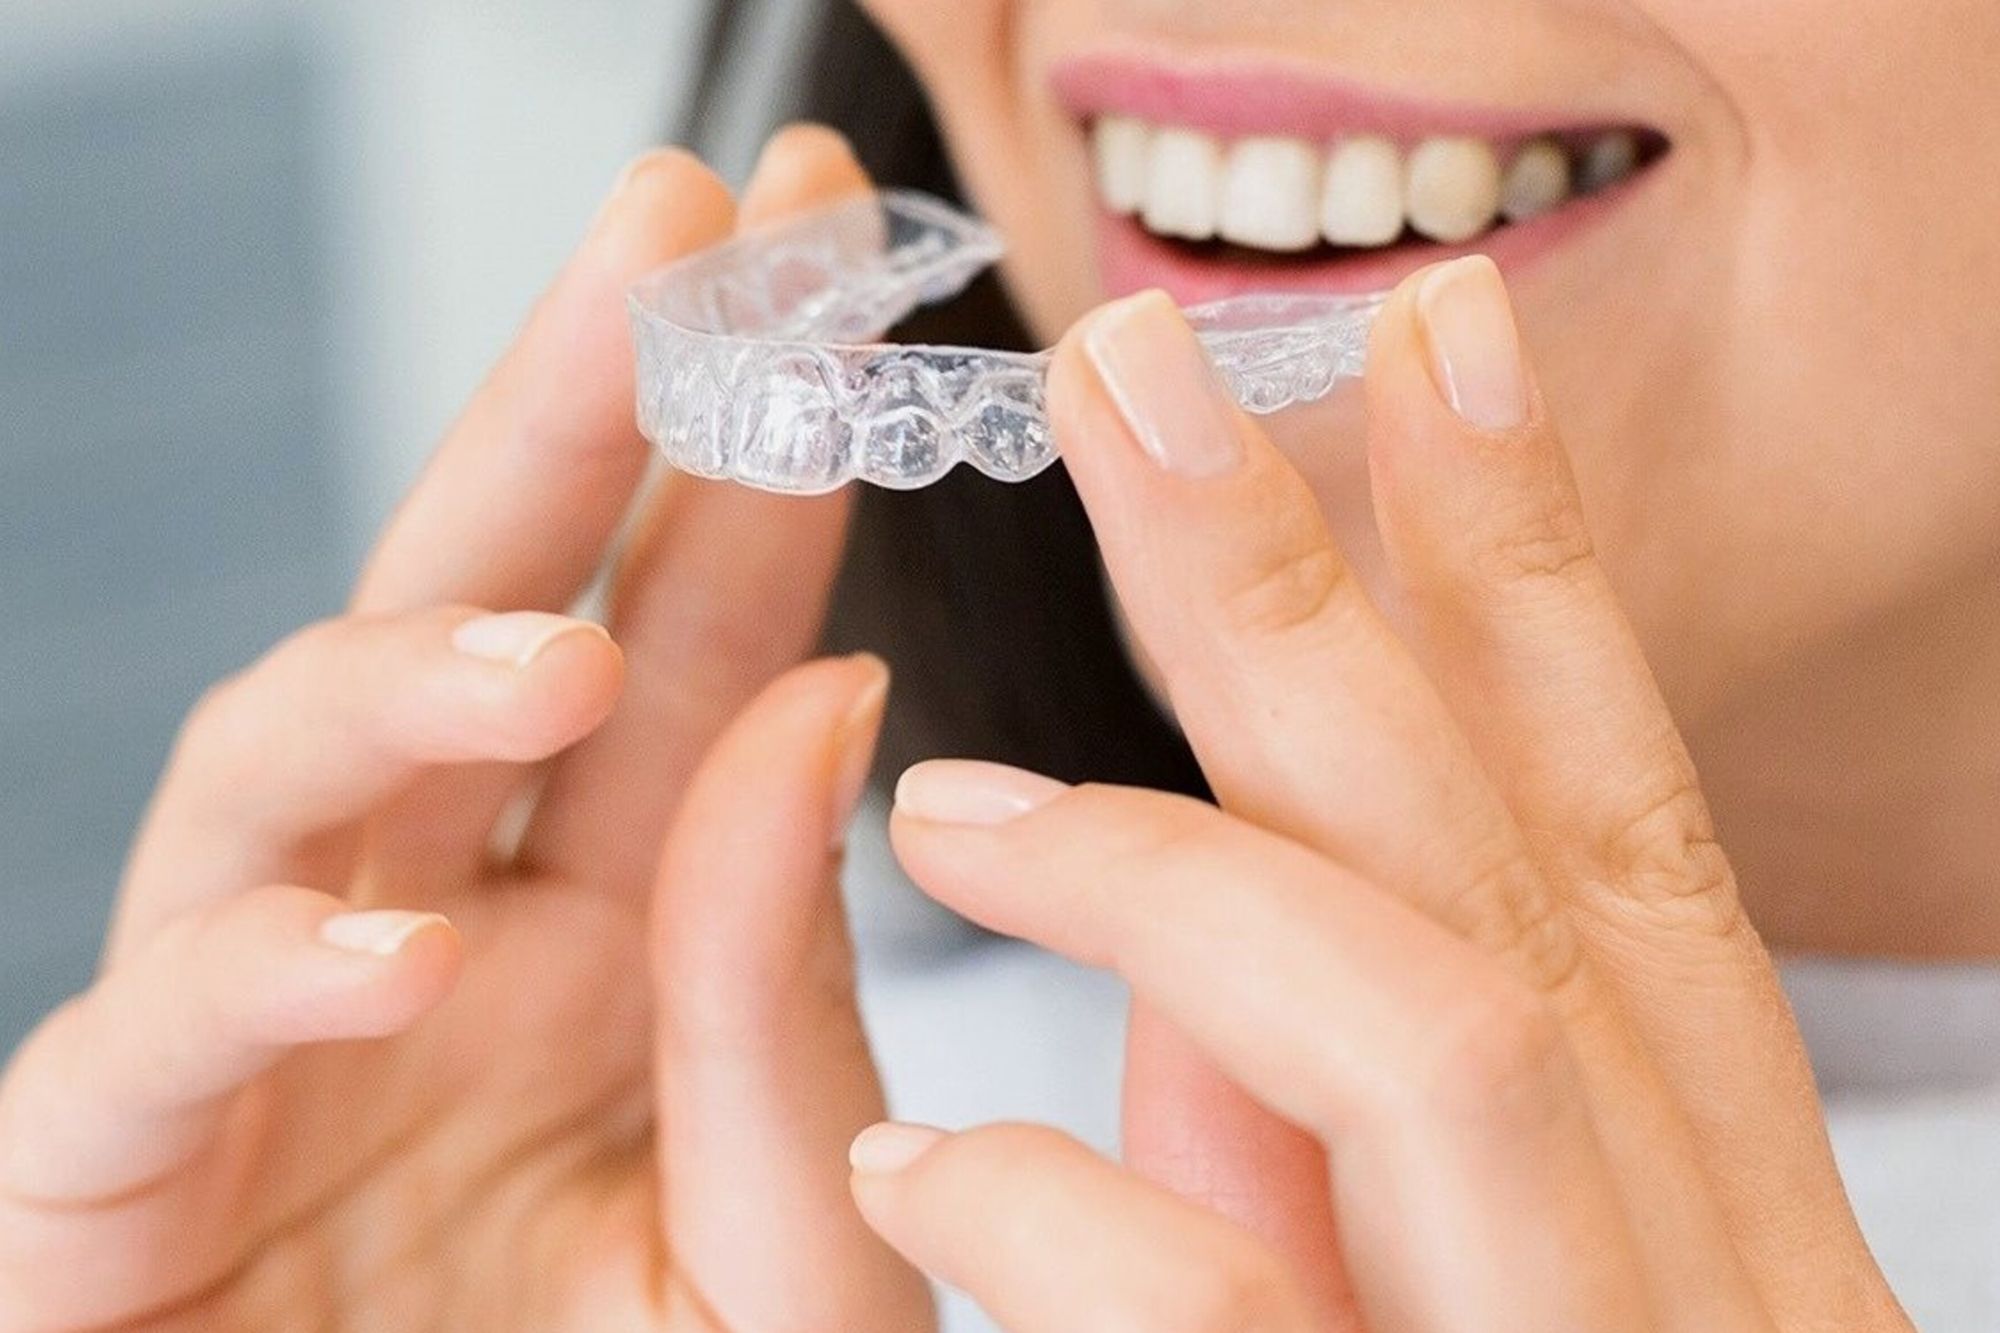
Your Invisalign trays spend up to 22 hours a day in your mouth, making them magnets for bacteria, plaque, and food particles. Without proper cleaning, they quickly become breeding grounds for harmful microorganisms.
Health Risks of Poorly Maintained Aligners
Neglected aligners can lead to serious oral health problems. Research shows that bacteria accumulate on uncleaned aligners within just 48 hours, potentially causing:
- Persistent bad breath that won’t go away with regular brushing
- Increased risk of cavities as bacteria trapped against teeth produce acids
- Gum inflammation and potential periodontal disease
- Oral infections that might require additional treatment
- Potential systemic health issues as mouth bacteria enter the bloodstream
Think of your aligners as an extension of your oral ecosystem—what grows on them ultimately affects your teeth and gums.
How Dirty Aligners Affect Your Treatment Results
Beyond health concerns, dirty aligners can compromise your Invisalign treatment in several ways:
- Bacterial biofilm creates a slippery layer that reduces the aligners’ grip on your teeth, potentially slowing down movement
- Calcium deposits can alter the precise fit of your trays, affecting the planned tooth shifts
- Stained, yellow aligners defeat the purpose of “invisible” orthodontic treatment
- Odor from bacteria makes wearing aligners socially uncomfortable
Maintaining clean trays ensures your investment delivers the smile transformation you’re expecting, on schedule.
Best Daily Cleaning Methods for Invisalign
Developing a consistent cleaning routine is essential for maintaining spotless Invisalign aligners. Here’s how to keep them clear and hygienic every day.
Gentle Brushing Techniques That Won’t Damage Aligners
Brushing your aligners requires a delicate touch to avoid creating micro-scratches that can harbor bacteria and affect clarity:
- Use a soft-bristled toothbrush dedicated solely to your aligners (not the same one you use for your teeth)
- Apply lukewarm water—never hot, as it can warp the plastic
- Clean with gentle, circular motions using clear, antibacterial soap
- Focus on both the inside and outside surfaces, paying special attention to areas with dried saliva or buildup
- Rinse thoroughly to remove all soap residue before reinserting
Remember that gentle pressure is key—you’re removing biofilm, not scrubbing a dish!
Effective Soaking Solutions for Daily Maintenance
While brushing removes surface debris, soaking your Invisalign trays helps eliminate bacteria hiding in microscopic crevices:
- Official Invisalign Cleaning Crystals: Dissolve one packet in cup of lukewarm water and soak for 15 minutes
- Hydrogen Peroxide Solution: Mix equal parts 3% hydrogen peroxide and water, soak for 30 minutes
- Distilled White Vinegar Solution: Combine 1 part vinegar with 3 parts water, soak for 15-20 minutes
After soaking, give your aligners a quick brush and thorough rinse before putting them back in your mouth.
Invisalign Cleaning Products: Which Work Best?
With numerous cleaning products available, it helps to understand which are most effective for your specific needs and budget.
Invisalign Cleaning Crystals: Benefits and Usage Guide
Invisalign’s official cleaning crystals are specifically formulated to clean aligners without causing damage:
Benefits:
– Removes plaque and bacteria without abrasion
– Helps prevent yellowing and odors
– Doesn’t contain persulfate (an allergen in some denture cleaners)
– Leaves no taste residue
How to use:
1. Dissolve one packet in a cup of lukewarm water
2. Submerge aligners completely for 15-30 minutes
3. Rinse thoroughly with lukewarm water before reinserting
While more expensive than DIY alternatives, many users find the convenience and effectiveness worth the investment, especially for removing stubborn stains.
Effective DIY Solutions: Hydrogen Peroxide vs. Vinegar
These household products provide effective, affordable alternatives to commercial cleaners:
| Solution | Best For | Mixing Ratio | Soaking Time | Notable Benefits |
|---|---|---|---|---|
| Hydrogen Peroxide | Stain removal | 1:1 with water | 30 minutes | Excellent disinfectant, removes yellowing |
| White Vinegar | Mineral deposits | 1:3 with water | 15-20 minutes | Breaks down calcium buildup, antibacterial |
Both solutions require thorough rinsing afterward to remove any residual taste or smell.
What Never to Use: Products That Damage Aligners
Certain cleaning agents can permanently damage your Invisalign trays:
- Toothpaste: The abrasive particles create micro-scratches that collect bacteria and stains
- Colored soaps: Can stain the clear plastic
- Alcohol-based mouthwash: Causes warping and discoloration
- Bleach: Damages the material and creates health hazards
- Hot or boiling water: Warps the precisely measured aligners, affecting your treatment
- Baking soda: Too abrasive for the plastic material
Using these products even once can compromise your aligners, potentially requiring costly replacements.
How to Remove Stains and Buildup From Invisalign
Even with regular cleaning, your aligners might develop stains or buildup over time. Here’s how to address these common issues.
Removing Yellow Discoloration From Aligners
Yellowing often occurs gradually and may become noticeable after several days of wear:
- Create a hydrogen peroxide solution (equal parts 3% hydrogen peroxide and lukewarm water)
- Soak yellowed aligners for 20-30 minutes
- Gently brush after soaking to remove loosened stains
- Rinse thoroughly with lukewarm water
For persistent yellowing, try soaking overnight in a fresh denture cleaning solution (non-colored and without persulfate if possible).
Tackling Stubborn Plaque and Mineral Deposits
White, crusty buildup on aligners comes from mineral deposits in your saliva:
- Create a vinegar solution (1 part white vinegar to 3 parts water)
- Soak aligners for 15-20 minutes
- Use a soft brush to gently remove loosened deposits
- Rinse thoroughly with lukewarm water
For particularly stubborn deposits, you can soak aligners for up to an hour, replacing the solution halfway through if necessary.
Common Invisalign Cleaning Mistakes to Avoid
Learning from others’ mistakes can save your aligners from damage and extend their lifespan.
Damaging Cleaning Habits That Ruin Aligners
Avoid these common errors that compromise the integrity of your Invisalign trays:
- Using hot water: Temperatures above lukewarm can warp the plastic material, altering the precise fit
- Aggressive brushing: Creates micro-scratches that harbor bacteria and cause clouding
- Using colored cleaning products: These can permanently stain the clear plastic
- Cleaning infrequently: Allows buildup to harden and become more difficult to remove
- Skipping the rinse after meals: Lets food particles and acids damage aligners
Remember that prevention is easier than correction—gentle, consistent cleaning prevents the need for aggressive measures later.
Storage Errors That Promote Bacterial Growth
How you store your aligners when they’re not in your mouth matters tremendously:
- Leaving aligners exposed: Allows them to collect dust and bacteria
- Storing in tissue or napkins: Leads to accidental disposal and doesn’t protect from bacteria
- Using an unclean case: Transfers bacteria back to freshly cleaned aligners
- Closing case while aligners are wet: Creates a humid environment perfect for bacterial growth
- Storing near heat sources: Can warp the aligners’ shape
Always store your aligners in a clean, dry case when not wearing them, and clean your case daily with soap and water.
Daily Invisalign Cleaning Routine: Morning to Night
A consistent routine ensures your aligners stay clean throughout your treatment journey. Here’s a practical schedule to follow.
Morning Cleaning Protocol
Start your day with clean aligners:
- Remove aligners upon waking
- Rinse them thoroughly with lukewarm water
- Gently brush with a soft toothbrush and clear antibacterial soap
- Rinse completely to remove soap residue
- Set aside in your clean case while you brush your teeth and complete your oral hygiene routine
- Rinse your mouth with water before reinserting clean aligners
This morning routine takes less than five minutes but dramatically improves your aligner hygiene.
After-Meal Cleaning Steps
Each time you eat or drink anything besides plain water:
- Remove aligners before consuming food or beverages
- Store them in your case—never on a napkin or exposed to air
- After eating, brush your teeth or at minimum rinse your mouth thoroughly
- Rinse your aligners with lukewarm water before reinserting
- If possible, give them a quick gentle brush with clear soap
When you’re away from home, keeping a travel cleaning kit in your bag makes maintaining this routine much easier.
Nighttime Deep Cleaning Process
Evening is the perfect time for a more thorough cleaning:
- Remove aligners before your nighttime oral hygiene routine
- Prepare your preferred soaking solution (cleaning crystals, hydrogen peroxide, or vinegar)
- Clean your teeth thoroughly while aligners soak for 15-30 minutes
- After soaking, gently brush aligners with a soft-bristled brush
- Rinse completely with lukewarm water
- Reinsert into your clean mouth before sleep
This deep cleaning helps remove the day’s accumulated bacteria and prevents overnight staining.
Cleaning Invisalign While Traveling
Don’t let travel disrupt your cleaning routine:
- Pack a travel-sized cleaning kit with:
- Travel toothbrush dedicated to aligners
- Small bottle of clear soap or pre-portioned cleaning crystals
- Your aligner case
- Small bottle of distilled water if you’re concerned about water quality
- When full cleaning isn’t possible, at minimum rinse your aligners and mouth thoroughly with water before reinserting
- Schedule a deep cleaning as soon as you return to your regular routine
Many orthodontists offer travel-sized Invisalign cleaning kits that contain everything you need in convenient packaging.
By following these cleaning guidelines, you’ll ensure your Invisalign treatment proceeds smoothly with clear, comfortable, and hygienic aligners. Remember that consistent maintenance not only preserves the appearance of your aligners but also protects your oral health throughout your smile transformation journey.